
Quickly Age a Terra Cotta Pot in 2 Easy Steps
Is there anything prettier than beautifully patinaed terra cotta pots? Finding authentically old pots can be a challenge. That’s why I found a way to age a terra cotta pot that is both quick and easy. Read on to find out the 2 steps you can take to do this yourself at home.
What You Need
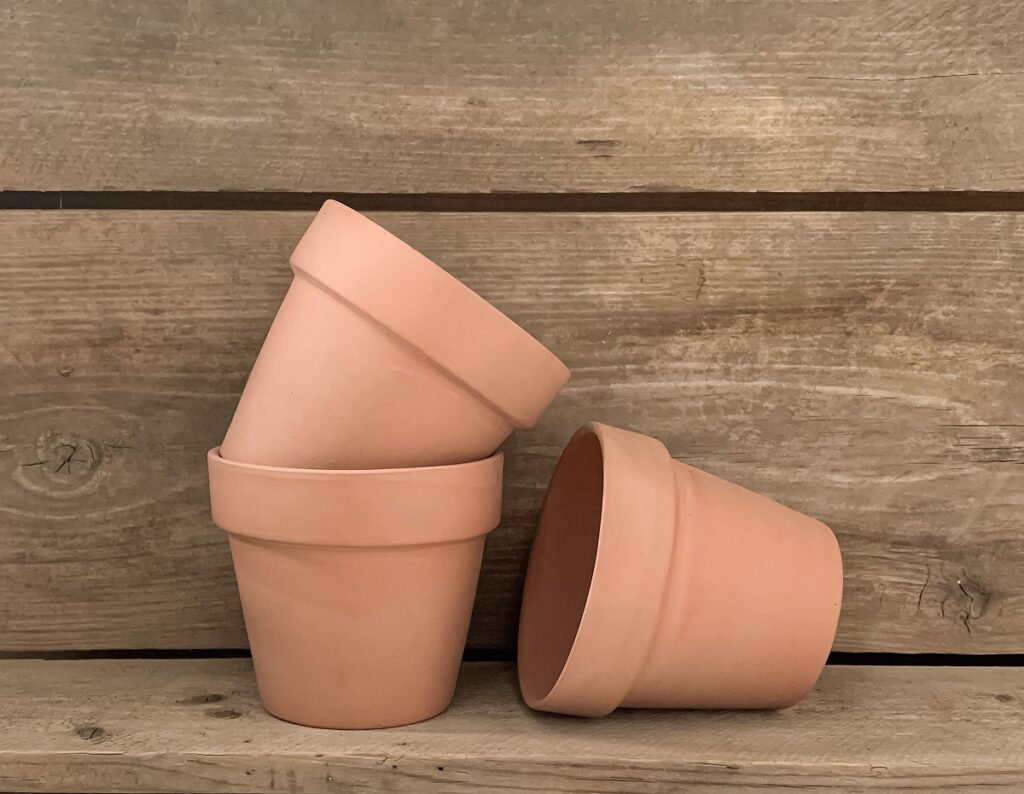
- New terra cotta pot(s) of any size
- White chalk paint
- Grey chalk paint
- Paint brushes of your choice
- Dirt
Step 1: Paint It
The first step to age a terra cotta pot is to paint it. The technique you are going to use is called dry brushing. For dry brushing, you just barely dip the tip of your brush in the paint and take off any excess by dabbing the brush on a paper towel. You want barely any paint on your brush. To apply the paint use very gentle light-handed strokes. The finish that dry brushing leaves is incomplete, the point is that some of the surface underneath will show through. How much of the terra cotta you can see is completely up to you. The more coverage the older and more patinaed the pot looks. I have done this project with a little and a lot of terra cotta showing through and they both turned out beautifully.
To paint your pot, start with some grey chalk paint and dry brush it on a few areas you want to have more “wear”. This step just creates more depth to the aging than white paint alone, but doing this is completely optional. I didn’t have grey chalk paint, so I mixed white and black together to create the grey shade I wanted. Next, dry brush the white chalk paint over the entire pot, including the areas you used the grey paint. After your pot is dry to touch you are ready for the next step.
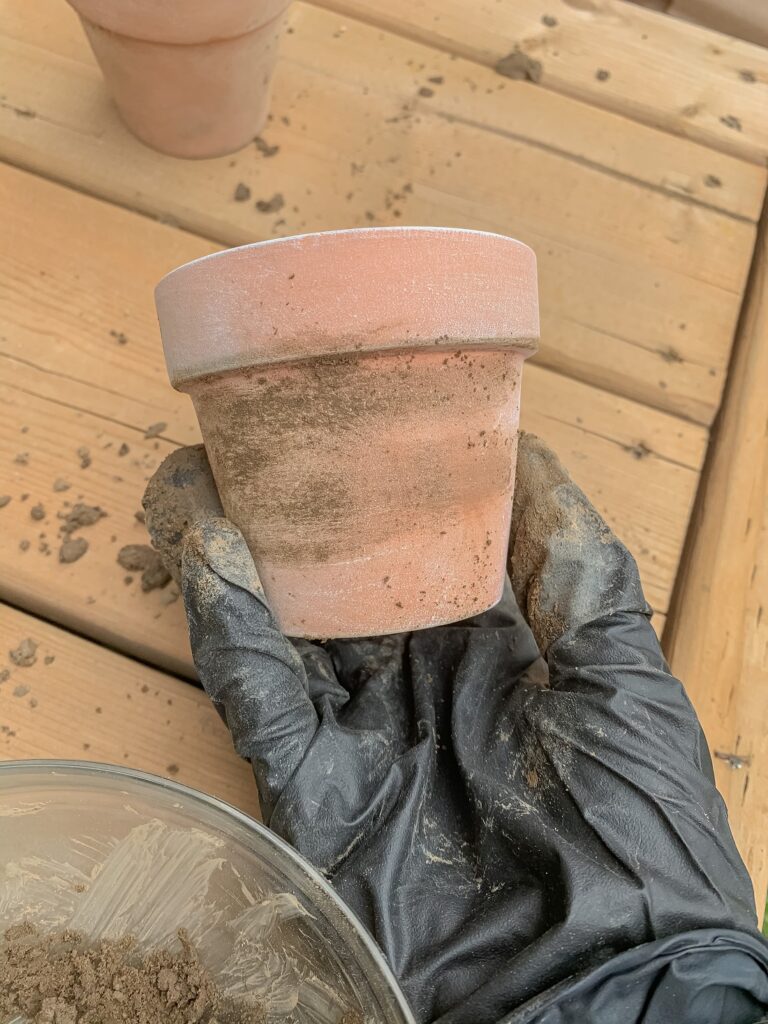
Step 2: Finish Aging Your Terra Cotta Pot With Dirt
The final step to make your terra cotta pot look aged is to rub it with dirt. Grab some dirt from your yard, it’s best if the dirt is slightly wet, and start rubbing it all over your pot. You can go heavier with the dirt in some spots so it has a more uneven and naturally worn look. Then just leave your pot out in the sun to dry. After the pot is dry you can wipe away any excess dirt. I didn’t use any sort of sealer on my pots and they have held up fine indoors, but you can choose to seal yours if you’d like.
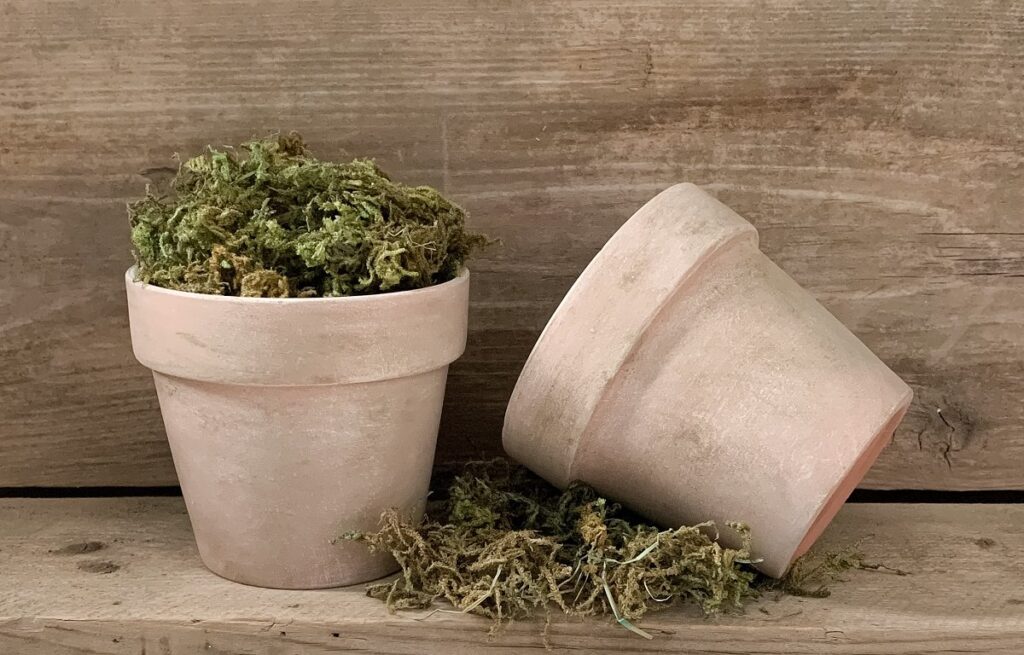
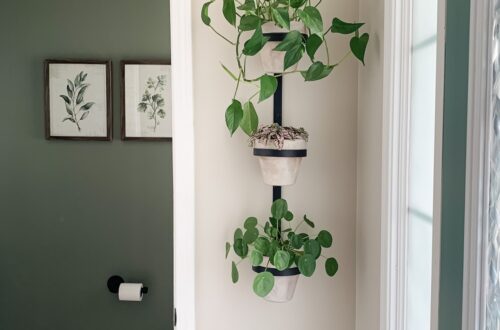
And that’s it! You now have an aged terra cotta pot that is ready to plant. How easy was that? Looking for an idea on how to use your pot? Check out my indoor plant wall here. Leave me a comment letting me know if you try this technique yourself.


4 Comments
Wendie Rodgers
Quick, easy and stylish! I like it! Fun crafting idea and perfect for my porch!!
thegatheredheart
Thank you! Definitely and quick and fun little project, it would look great on a porch!
simplyjolayne
Never thought to actually age the pot with dirt. I will have to try that.
thegatheredheart
Such a quick and easy way to get the aged look!